Screenshots have become a crucial part of every work whether it’s about showing proof or sharing details of any process. But taking the same can be a little confusing for beginners and that is why we have come up with a complete guide explaining how to take a screenshot on a HP laptop.
The below-mentioned steps are not just limited to HP laptops but can also be done on other companies’ laptops and tablets so that no technical thing becomes a hurdle in your work. So, read the complete article with patience to know about multiple easy and quick ways of taking a screenshot of a laptop’s screen.
Table of Contents
How to Take a Screenshot on a HP Laptop?
Below are multiple ways of taking a screenshot which will save a lot of your time and energy along with giving you the options to edit them accordingly. So, let’s start!
1. With Print Screen

This is the best way to capture the entire screen without any image distortion. It can be done only with the help of a key. So, to know about it, read the below-mentioned steps:
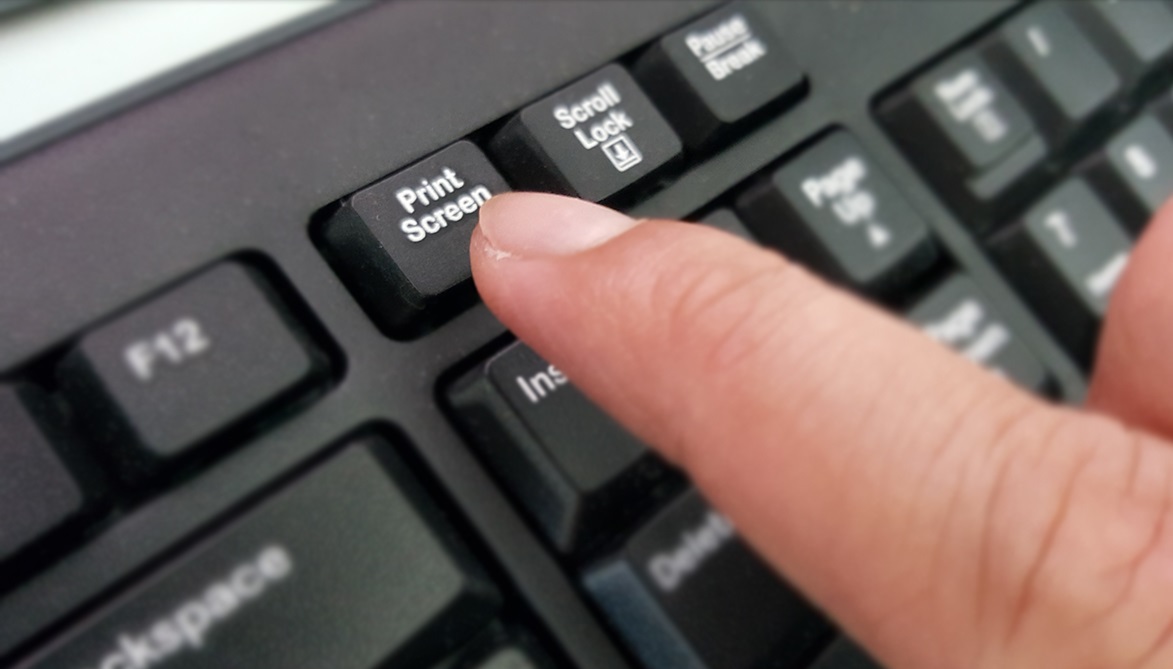
- Start by pressing the Windows key with the print screen key together for snapping the complete screen. The print screen key is available at the top right corner of the keyboard with the acronym “prt scn”.
- After that, you will notice a millisecond of blink on your screen which means that the snapping has been done correctly and the screenshot has been copied in your system.
- Now all you need to do is open any blank document, photo editing application, or any painting software where you can just paste the screenshot by pressing the keys Ctrl and V together.
- Lastly, save that file in the desired format in your system for future use.
2. With Short-Cut Keys

There are times when you do not want to snap the complete screen and wish to screenshot only a particular section to complete the task precisely and quickly. Below are some steps that can bail you out of this situation:
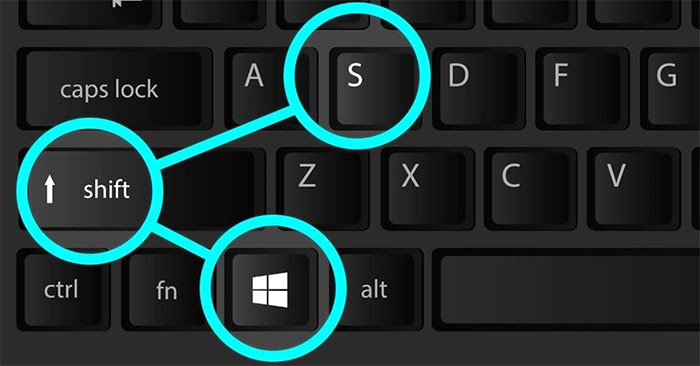
- Start by pressing the keys of Windows + Shift + S together, to begin with the process. If done correctly, you will notice a faded white color overlay on the entire screen and a change in the cursor from a pointed shape to a cross.
- Now, start the selection of the area which you want to snap from the complete screen by simply dragging the cursor over that.
- After this, the taken screenshot will get copied into the system’s clipboard.
- Now all you need to do is paste (Ctrl + V) the image into any blank document or any installed photo editing software for further changes like more cropping, resizing, and so on.
- Finally save the file in any desired format like JPG, PNG, etc. and you are done with taking a screenshot on your laptop.
3. With Snipping Tool

When you want to be more specific and have a lot of editing to do in the screenshot then at that time, the Snipping tool can be your true savior. To know how to use it, read the below-mentioned steps:
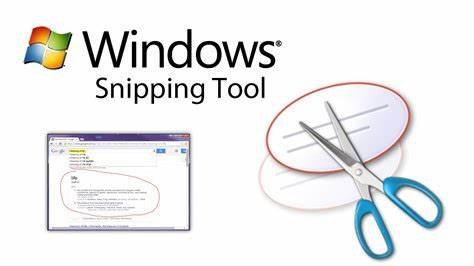
- Go to the start button and search for the “Snipping Tool” to open the application on your screen.
- Now, on the top left corner of the window of the Snipping tool, you will see the icon with the name “New”. Select it and start dragging the cross cursor on the section you want to snap from the screen.
- Release the cursor when you are done with the selection.
- After this, the homepage of Snipping Tool will appear again where you can now edit, paint, erase, crop, and save the screenshot in the desired file format.
4. With Snagit

This is an application which you have to download first for enjoying its features and taking effortless screenshots. Let’s read the below-mentioned points to see how it works:
- Firstly, download the Snagit app on your laptop from the official website or Microsoft store.
- Once done, run the application so that you see a red button on the top of the screen through which you can take the snap of the desired portion.
- Now, click on it and select the area you want to screenshot.
- After this, the taken screenshot will get pasted in the Snagit app where you can easily edit, copy, crop, resize, etc. for customization accordingly.
Conclusion
Above we saw multiple ways which answer how to take a screenshot on a HP laptop. You can choose any of the above-mentioned ways to take creative snaps and use them in your work.
All of the screenshots which you take can be saved effortlessly in the system and there is a default option that each snap gets copied automatically in the system’s clipboard. If you are still facing any problems or have any queries, then share the same in the comment box mentioned below.
FAQs
1. How to take a screenshot on a HP laptop with the help of any application?
Applications like Snipping Tool and Microsoft Snip can help you in taking the screen’s snap in the easiest and quickest way possible.
2. Can I take screenshots with the help of any Add-ons?
Yes, Chrome Add-ons like Lightshot, FireShot, and Awesome Screenshot can help you in taking the screenshot effortlessly.
3. What are the steps to activate the Print Screen button available on my keyboard?
If you own a laptop with Windows 10 then go to the settings, select the option of Ease of use, and then click on Keyboard. After this, go down to the page, search for the Print Screen shortcut option, and turn on the slider to activate its working instantly.
Preeti Jha is a young writer who loves reading, writing, and using words in the crispiest and clearest way possible. She has 3+ years of industry experience and holds a very good command over language and representation of content. She believes in hard work and dedication when it comes to winning any milestone or getting loyal readers. From reporting and anchoring to writing and radio jockeying, she has an interest in various fields of mass communication.